You can open the hood of your Honda Odyssey by pulling the hood release lever on the lower lefthand side of your dashboard, then releasing the secondary latch at the front of your vehicle.
You’ll have to open the hood of your car eventually, whether for an oil change
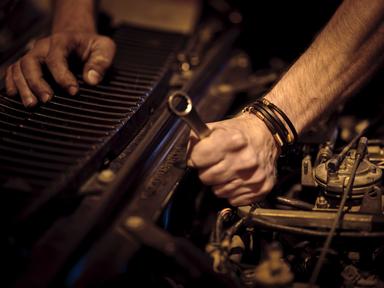
or for a more extensive car repair
. Fortunately, once you learn how to do it, getting under the hood of your car is pretty simple—and a great skill to know. That’s why we created a guide to opening the hood of your Honda. We’ll discuss how to pop the hood, where your hood release lever is located, what to do if your hood release needs repairs, and even whether or not those repairs are covered by your car insurance
! Let’s get started. Where is the hood release on a Honda Odyssey?
The hood release for your Honda Odyssey can be found at the lower lefthand corner of your dashboard.
The lever won’t be immediately visible if you look straight down, but it becomes more obvious if you look at the pedal area of your vehicle from the right. You’ll find the lever close to the fuel door release lever and right next to the emergency brake. The lever will be marked with an icon of a car with an open hood.
When opening the hood of your car, this is the first lever you’ll need to pull.
How to open the hood on a Honda Odyssey
Once you pull the hood release lever, it’s pretty easy to open the hood of your car
. To get under the hood, just follow these steps: Pull your hood release lever inside your car.
Exit your vehicle and stand in front of your hood, facing your car.
Reach carefully under the hood of your vehicle and feel around for the secondary hood release latch.
Pull on this secondary latch to release your hood and, at the same time, pull upward on your hood.
If your vehicle has a prop rod to hold up the hood, find it and put it into place so your hood stays open.
Just like that, you’ve opened the hood of your Honda and you’re ready to begin your maintenance or repairs!
What if the hood release latch doesn’t work?
Unfortunately, parts do sometimes break. If you followed these instructions and you’re wondering why your Honda Odyssey’s hood is still firmly in place, it’s likely due to a broken hood latch release cable.
If you’re experiencing this issue, don’t worry! You can still access your engine using a flathead screwdriver and a flashlight. First, look through your front grille for the hood latch. It should be located right above the Honda symbol. Carefully stick your flathead screwdriver through the grille and push upward on the hood latch to release it. Then, release the second latch with your fingers as normal.
How to repair the Honda Odyssey hood release
If your Honda’s hood release is broken, you don’t want to be stuck opening your hood with a screwdriver forever. On average, replacing this part will cost you between $234 and $246, mostly in labor charges.
Your Honda dealership will use OEM parts to repair your hood latch release, which might add a little extra cost, but you can avoid the cost of parts entirely if you have OEM coverage
on your car insurance policy. However, you may be tempted to find a cheap mechanic with minimal experience and low labor rates to lower the cost of this repair. Just remember, repairing the hood release latch can be complicated. It’s better to find a seasoned mechanic with years of experience to help you out.
If you’re hoping to get your repairs covered, the main thing to consider is what broke the hood release in the first place. If the hood release was damaged in an accident, you could get the repairs covered with collision coverage
on your insurance. Otherwise, however, the cost of repairs will be out of pocket. "Using Jerry
is a super straightforward process, and at each step, you can see exactly what coverage you’re paying for. Thanks to Jerry, I’m paying $900 less each year while keeping full coverage for my new car!” —Martin H.
RECOMMENDEDInstantly compare top insurance companies
No spam or unwanted phone calls · No long forms
What insurance do you want to compare?


 4.7
4.7
 We value your privacy