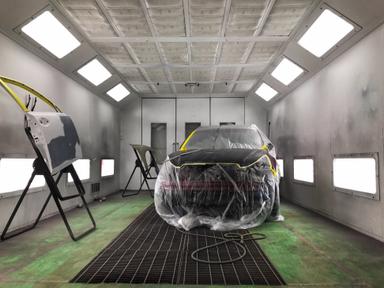
Vinyl wrapping a car bonnet or car hood is tricky, but even a novice can get the job done so it has the appearance that a professional did it. Follow these steps to do the job correctly:
Before you start, get rid of any dents
, large scratches, or other imperfections in your paint job, as these can cause your wrap to bubble. If you can, work in a clean, controlled environment to prevent any dust, dirt, or bugs from getting trapped under the wrap.
Work on a warm day. A temperature of around 68 degrees is optimal for the best results.
Purchase a piece of vinyl wrap that is slightly larger than the area you plan to cover.
Take a short break to make sure you have the right tools to do the job, including:
Grease and wax remover like Goo Gone
After you gather your tools and supplies, move onto the next steps:
Wash your bonnet or hood thoroughly with a non-wax solution.
Wipe down the surface with isopropyl alcohol and clean towels.
Put on your cotton wrap gloves and lift the piece of vinyl wrap in the air.
While holding it up and keeping even tension on the material, remove the backing. Be careful not to accidentally fold the material as you do this, as this will create creases in the wrap.
Lay the material carefully on the bonnet without releasing the tension on the corners of the vinyl.
Press down the center of the wrap, keeping tension on the edges as you do so
Use the squeegee from the center of the wrap in overlapping strokes. This will push the excess air out from under the wrap and make it flush to the surface of your car. Be extra careful on curved parts of your bonnet, as this is where the wrap is most likely to bubble.
If you start to notice bubbles or wrinkles in the wrap, gently peel back the vinyl and apply up to 120 degrees of heat with your heat gun. Then use the squeegee again to press the material down flat.
When you’re finished placing the vinyl sheet, cut the edges with your utility knife to within a quarter-inch of the edge of the bonnet.
Use the heat gun to evenly heat the edges. Use your thermometer to make sure that you get the vinyl hot enough (212 degrees). This will activate the adhesive.
Use the squeegee and your fingers to firmly seal the edges of the vinyl wrap to the bonnet.
Finally, use the heat gun on the rest of the bonnet.
Use your hands to squeegee the wrap to your bonnet. If you notice any bubbles, pop them with a pin or your utility knife and press them down with your fingers.
The adhesive will fully set in 12 hours, so put your car in a protected environment until then.
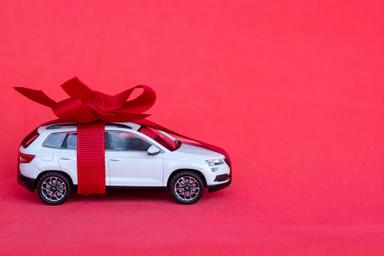
And just like that, you’ve wrapped your own car!
Since you’re taking the time to customize your car, why not take an extra minute to save some money on your car insurance policy? The Jerry
app can help you find the best rates available on the insurance coverage you want. Download the app and answer a few questions to see a comprehensive cross-analysis of the best car insurance policies across more than 50 providers.