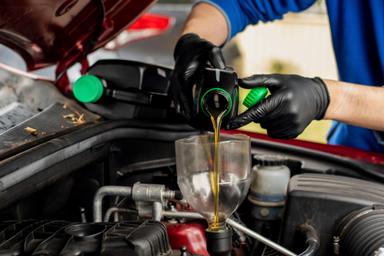
While Teslas are efficient, they still need a 12V battery for the lights, windows, doors, and display. Therefore, it’s extremely important to keep your battery in working order!
Although you can replace your Tesla Model 3’s
12V battery yourself, the easiest option is to contact Tesla’s service center or mobile service. A Tesla-certified mechanic can change your battery much faster without risking any damage to your car. That said, if you still want to give it a try, expect to spend at least an hour on the task. You’ll also need:
A lead-acid or lithium-ion replacement battery
Once you have your tools, here’s what to do:
Power off your Tesla and open your doors and windows.
Disconnect the high voltage. To avoid electrocution, you’ll need to disconnect the high voltage. You can access the high voltage cord by opening your back seats. Remove the black plastic cover. You’ll see a thick black cord with a sliver attachment. Pull this cord to disconnect the high voltage.
Open your hood
. Once open, you’ll pull off the plastic cover closest to the windshield. Once you have the plastic cover off, remove the air vent on the passenger’s side of the car.
Remove the bolts that attach to the battery brackets. You’ll start by removing the bolt on the driver’s side and then the passenger’s. You’ll also need to remove the large bracket in the middle.
Remove the negative terminal. You want to remove the negative terminal, or black terminal, first and then the positive to avoid potential sparking.
Remove your old 12V battery.
Attach the brackets. Once your new battery is in, you’ll need to attach the middle bracket to secure it.
Repeat the steps in reverse order, so attach the positive terminal and then the negative terminal.
Reattach the bolts on the driver’s and passenger’s sides of the battery.
Reattach air vent and plastic cover.
Reconnect the high voltage connector.
After reconnecting your high voltage, you should be good to go!
Having a functioning battery is essential to your Tesla, as is a good car insurance policy. To ensure your Tesla has the best protection, use Jerry
. The Jerry app collects quotes from 50+ top insurance companies, including Nationwide and Travelers, in seconds for free. They even help cancel your old policy once you’ve made your pick.