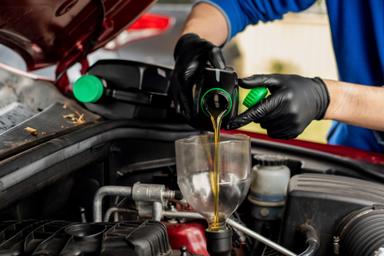
Even the best tires will wear out over time and with constant use—and when the time comes to change them, you’ll have to deal with removing the tire from the rim. Luckily, as long as you know the right steps and have the right tools, you can get this job done at home!
When it comes to keeping your car safe and running well, your tires are just as important as your engine. But when your tires wear out, it impacts the car’s effectiveness, traction, and braking ability, and can make for some risky driving. Fixing your own tires will save you tons of money on expensive repairs that may be better spent on other car-related upkeep.
Here to break down all you need to know about removing a tire from a rim is Jerry
, the trusted insurance comparison app
that helps you save on car insurance
. Continue reading to learn when it’s time to replace your tire rims, all the tools you’ll need, and exactly how it’s done. When should you replace your tire rims?
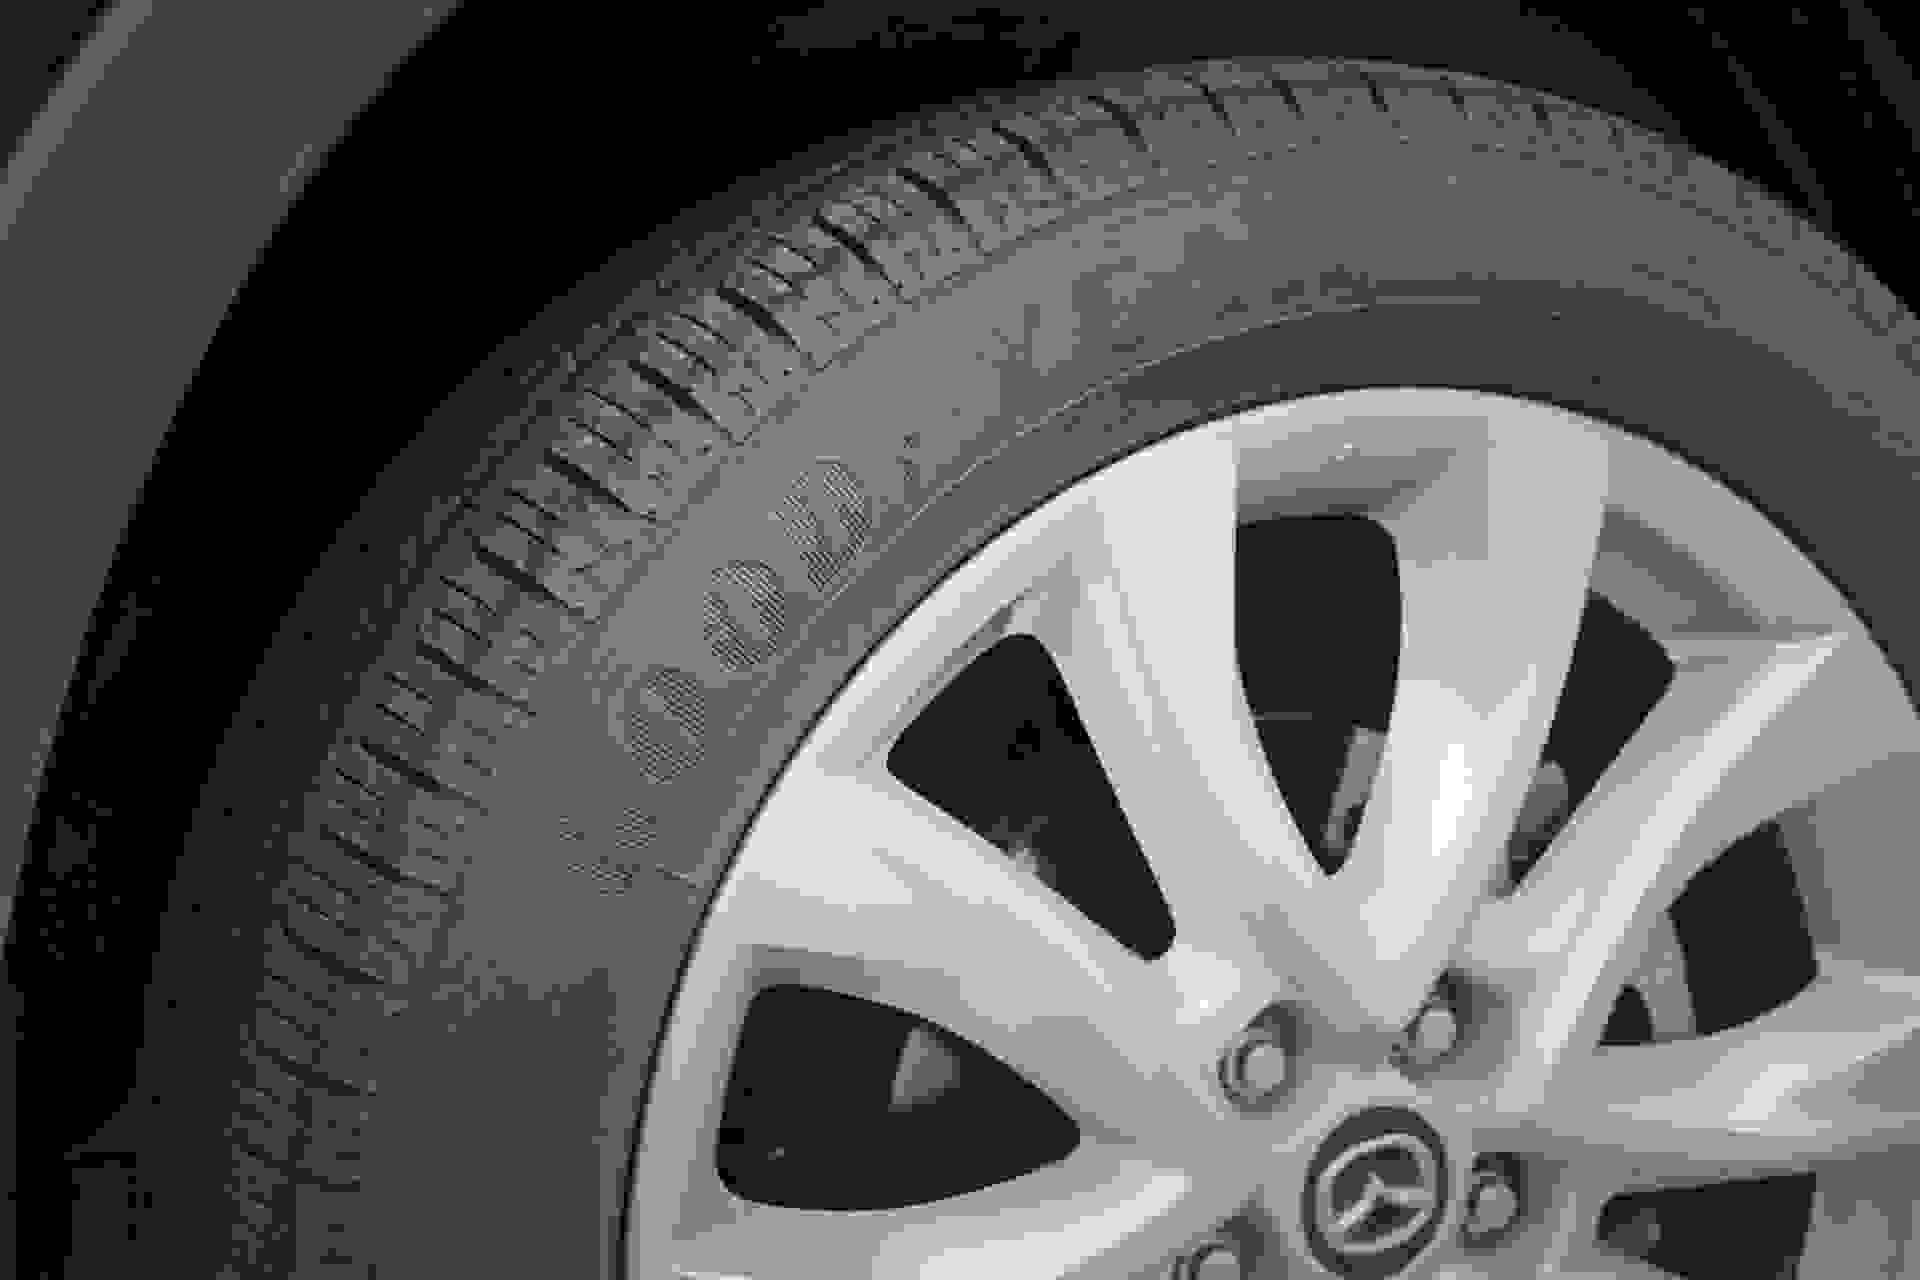
While scratches and dents can make it easy to know when your rims need changing, some signs aren’t always so clear. Here are some obvious signs:
The ride is clunky, like driving with a flat tire
Have a lower fuel economy than usual
When driving, your seat (or the entire car) vibrates
The breaks aren't working as well
You're constantly having to inflate the tires
How to remove a tire from a rim by hand
Prying the tire apart from the rim may sound scary, even more so if you’re new to tire maintenance. But don't worry—you don't have to be a qualified mechanic to do this task at home! You just need are the necessary tools
, basic mechanic abilities, and the proper steps. You’ll need the following tools:
Crowbar, prybar, or tire levers (any one of these)
Valve core removal tool (Presta, Schnader, or pliers)
Drywall knife, saw blade, or another sharp cutting tool
Optional: tire bead breaker and tape
Once you’ve got everything together, you can get started!
1. Deflate the tire
The air cap, also known as the valve core, is a pressure sealing mechanism consisting of either rubber or metal that is situated on the core of the tire where it’s inflated.
Insert your valve core removal tool into the valve stem, and spin it counterclockwise until it’s loose. Then release your grip and let the air out.
2. De-bead the tire
Here comes the most important step—removing the bead from the rim. The bead is the tread's edge that's secured to the rim with steel cable and adhesive.
There are several techniques and tricks for breaking the bead bundle:
Run over your tire. The goal is to compress the rubber to make the bead pop out. When driving across a tire, be sure to use the rubber part, avoiding the metal rim. You might need to go over it several times to get the job done.
Put the vehicle's weight on the tire via suspension. Using a jack, partially raise and lower the car. Once the car is up, place the tire on the jack and lower it onto the tire's bead. Do not try this if you're new to car suspension and don't have professional supervision—this entails lifting a car and working below it, which is dangerous if you're inexperienced.
Cut the bead off the rim using a sharp blade. Follow the seam along the bead while avoiding the metal rim to prevent damage. You can put a wooden cloth in the cut sections to prevent the blade from deviating.
If you're having trouble with the bead, you can also get it by using a bead-breaking tool
. It’s the fastest and easiest way to get the job done but will cost you more money to buy. 3. Lubricate the rim’s edge
Once you've broken the bead, use lubricant to oil the bead and the edge surrounding the rim This will prepare the area for when you pry the tire in a little bit.
When everything is greased, you should be able to easily pop the bead off the rim's lip—use as much lubrication as you need. To prevent scratching the metal while prying, tape the edge of the rim before lubricating.
4. Wedge open the tire and rim
Lay the tire on the ground and either step on it or use force to push the rubber to make an opening. Put the pry bar gently into the opening and slowly lift the bead until it's above the rim. While the pry bar holds the bead in place, use a screwdriver to bead up the opposite side.
5. Pry the other half apart
Only one-half of the tire has been loosened at this point; the other half must still be worked on. Turn the wheel over to the other side and pry it off the same way you did in step 4.
6. Remove the metal rim from the rubber
At this point, the tire should be completely loosened, so all you have to do is grip the rim and pull it until the bead comes free. When that’s gone, you’re done removing your rims!
How to remove a tire from a rim with a manual tire changing machine
If pulling a tire off a rim by hand proves too difficult, it's time to break out the heavy guns. A tire-changing machine eliminates the majority of the time-consuming task of physically detaching the tire from the rim.
While the machine accomplishes most of the work, you will still require the support of a few tools:
Tire changing rod (or any metal tube or rod with a pointed tip)
Plywood board (or any solid wood surface at least ¾ inches thick)
Valve core removal tool (Presta, Schnader, or pliers)
Bolts (ideally 5 inches long, ½ inch wide)
With these items, and your tire changing machine, you’re good to go!
1. Set up the plywood base
You want to provide a sturdy enough platform for the machine to sit on. To begin, put the machine on top of your plywood and trace the machine's base with a marker. Make a mark on the holes so you know where to place the bolt.
Some people choose a concrete block as a base since it is stronger and more stable—if you choose to do this, the fastening procedure will be the same.
2. Secure the machine to the platform
Place the machine on top of the traced base and adjust the bolts as needed. Using your screwdriver, turn clockwise until the bolts are completely tightened and biting into the wood.
3. Deflate the tire
This process is the same as if you were manually removing the rim—locate the core valve and twist the cap counterclockwise until it detaches. Place the core valve removal tool into the valve and spin counterclockwise to remove the valve stem.
4. Clamp the tire onto the machine
Find the machine's nub, which is the small triangle on the base. This is where you'll lay the wheel flat, rim side up. Hook the tire changer arm on top of the rubber once the wheel is resting on the nub and clamp it in place to secure it.
5. Separate the tire bead from the rim
Your tire changing machine should include a changing rod, but any basic metal rod with a pointed end will suffice.
Begin by inserting the rod's pointed end into the rim-tire joint. You can push down on the wedge with your hand or foot to gradually expose the rim.
6. Flip the wheel and repeat steps 4 and 5
The rim is exposed on the opposite half lip, but you still have to deal with the back of the rim. Turn your wheel on its opposite side and, after placing it on the nub, clamp it to the machine. Press the arm with the metal rod to expose the rim of the wedge (like you did before).
7. Place the tire on the machine's metal disc
This cylindrical disc-shaped metal piece is located on top of the machine. You can set the tire up by doing the following:
Insert the tire into the big spoke. The main spoke or central spoke holds the machine arms. As you slide the metal rim, ensure sure the tire passes through the smaller spoke and into the lug nut. To prevent rim scratches, wrap the spoke with a rug or cloth (or even paper).
Slide the bracket piece into the central spoke. The bracket is a metal device that keeps the tire from tilting or rotating as you pull the bead up later.
Attach the top cap. The cap covers the central spoke's cylinder. To keep it in place, twist it clockwise or use the machine's separate rod if you need to tighten it further.
8. Pour lubricant around the rim
This will make it easier to pry the bead's rim later on. Make sure the space beneath the rim is lubricated as well, so slightly raise the rim to get under it. As needed, liberally apply lubrication.
9. Pry the tire over the rim
Insert the tire-changing rod's duck-head end around the circumference of the tire. Lift the tire's bottom bead while still holding the rod. Working your way around the other angles, slide the rod clockwise until both sides are loose enough to pop the bead off.
It's okay if you can't get a particular section in one shot. You can go back by raising the foot pedal and turning the rod counterclockwise with your foot to get the job done.
10. Remove the rim's entire tread
Slide the rod down to the bottom area of the wheel to raise the tire all the way. You should then be able to pry the tire out of the rim completely!
How to save money on car insurance with Jerry
Taking the time to do maintenance on your car at home is a great way to cut down on costs. Comparison shopping for insurance
quotes is another fantastic way to save money on your car—and doing this is easier than ever thanks to the Jerry
app. After providing you with a comprehensive cross-analysis of the best policies across providers, Jerry will handle the phone calls, paperwork, and renewals for your top pick so that you don’t have to. They can even help cancel your old policy!
It takes less than a minute to get started, and the average Jerry user saves $800+ a year on their car insurance payments.
“Jerry
has amazing communication! And even better deals! Thanks to Jerry, I went from $327 to $182 on my payments. I’m so grateful!” —Kim T.
 4.7/5 rating on the App Store | Trusted by 5+ million customers and 7 million cars
4.7/5 app rating | Trusted by 5M+ drivers 


 We value your privacy