Performing a 2015 Jeep Wrangler’s radio replacement involves removing the dashboard’s trim panel. But it’s easy enough to do at home, and all you really need is a flashlight, a flathead screwdriver, and a 7mm socket wrench.
It’s been well established that Jeep Wranglers are among the best and most rugged offroading vehicles available to consumers. But all of that rock-crawling, mud-splashing fun ends where the tarmac begins. Wranglers are infamously uncomfortable, noisy, and the radio leaves a lot to be desired in the lower 2015 trims.
A lot of Jeep Wrangler owners opt to ditch their crummy OEM radio for a better aftermarket option of their choice. And Jerry
, America’s #1 top-rated licensed insurance broker
app, put together this guide to help you do exactly that. And along the way, we’ll help you reduce your car insurance
costs, too! How to change the radio on a 2015 Jeep Wrangler
In need of a 2015 Jeep Wrangler radio upgrade? Or is your 2015 Wrangler’s radio not working? You can swap the radio out pretty easily at home, without paying a mechanic or a car audio specialist. Though you may want to take your car to a mechanic
anyway if you don’t feel safe doing this. To access the radio, you’ll need just three tools: a flashlight, a flathead screwdriver, and a 7mm socket. You’ll then remove some elements of the dashboard trim. Removing the radio itself is the easiest part of the whole process!
1. Remove the A/C vents
Before we remove the radio, we first need to get the dashboard trim out of the way, so step one involves removing the three A/C vents located on the dashboard.
Open up the louvers (the little grille bits that direct the airflow)
Using a flashlight, look up and inside the vent. The inside top wall of the vent, just below the word “Jeep,” is where you’ll be looking
Rotate the louver slowly until you see a little square opening appear beneath that Jeep logo
Put your flathead screwdriver into that little hole and gently push downward (away from the Jeep logo) to release the locking mechanism holding it in place
With it pressed down, turn the vent counterclockwise, and from there you should be able to gently pull the louvers and remove the whole A/C vent
2. Remove the power window switch
Next, you’ll remove the power window switch in the middle of the dash area. Simply reach into the vent holes alongside the switch and gently push it out of the dash.
As you pull the switch away, you’ll see a wiring harness attached to the back of it. There are two steps to removing this harness but don’t worry, it’s super easy!
Use your screwdriver to push up and release the red locking mechanism on the side of the harness, then reach into the harness itself to press and release the master locking mechanism. Now you can remove the power window switch and set it safely aside.
3. Unscrew the first two 7mm bolts
You’ll see a 7mm bolt directly underneath that power window switch you just removed, and that’s the first one you’ll want to remove. So, using your socket wrench and a 7mm socket, simply remove that bolt. It’s a good idea to set it in your cup holder so you don’t lose it!
Next, you’ll remove another 7mm bolt, this one located underneath the rubber storage tray on the top of the dashboard. The liner is tight, but you can remove this by simply squeezing it in a little and pulling it up. Remove the 7mm bolt you find underneath it, and again, keep the bolt somewhere safe (like the aforementioned cup holder).
4. Remove the 7mm bolts by the steering wheel
Now let’s get the next two bolts, which are located alongside the steering column. This involves removing another trim panel, a hard plastic one found beneath the steering wheel.
This panel has hinges on the bottom of it, while the top simply snaps out of the way. Start by raising your steering wheel so you have access, then just snap it out at the top. Next, hang it down and slide it away from the hinges.
You’ll find these two 7mm bolts next to the steering column, one on the left and the other on the right, alongside your Wrangler’s ignition cylinder (where you put the key in to start it up).
Compare insurance quotes from 50+ carriers with Jerry in under 45 seconds
Compare insurance quotes from 50+ carriers with Jerry in under 45 seconds
 4.7/5 rating on the App Store | Trusted by 5+ million customers and 7 million cars
4.7/5 app rating | Trusted by 5M+ drivers 5. Remove the trim panel
We’ve made it to the last step of removing the dashboard trim panel … removing the panel itself! First, lower the steering wheel so it’s out of your way, then snap it out from around the center air vents you removed earlier. The rest should snap out fairly easily, but it might take a little gentle force to get it free.
The dashboard trim panel is big, but it’s not heavy. Put it somewhere safe outside of your Wrangler so it’s out of your way.
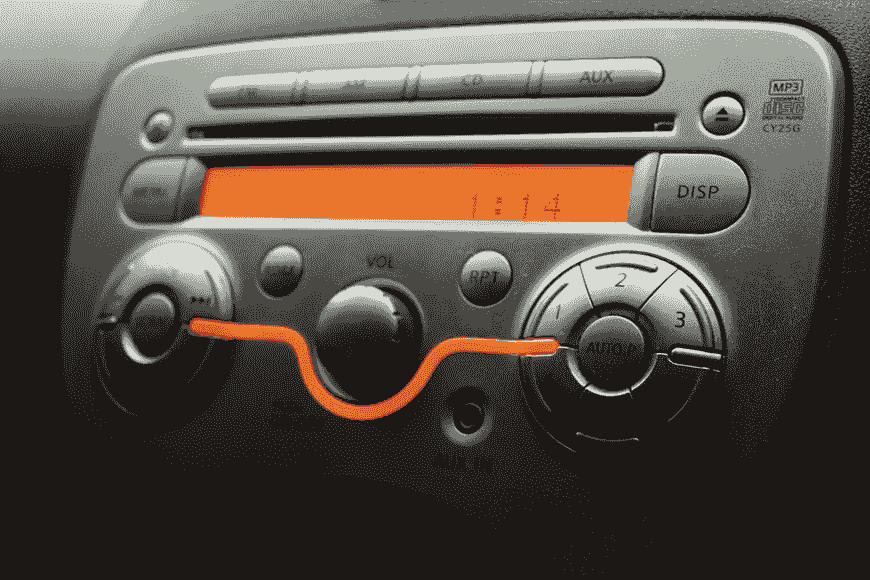
6. Uninstall the OEM radio
Taking out the OEM radio is actually the easiest part of this whole process. It’s held in place by four more 7mm bolts, one in each corner, which you’ll need to remove like you did all the others.
With those out of the way, just gently and slowly pull the radio out. You’ll need to slowly wiggle it left and right while pulling to remove it—it’s wedged in a bit tight, but there aren’t any locking mechanisms or additional screws holding it in place.
There are three things on the back you’ll need to remove: a wiring harness, and two antenna cables. Carefully remove those, and there you go, the old radio is out!
Now just connect your new radio and reverse these steps to install it. Reconnect the wires, insert the radio and bolt it in place, set the dashboard trim panel back in place, screw in all of those 7mm bolts, reinstall the cover under the steering wheel, and reinstall the power window switch and the air vents. Easy-peasy!
It’s worth noting that you need to decide on and purchase your aftermarket radio before you begin this process. Some aftermarket radios will require modifications to the car to fit properly, in which case you’ll need to visit a professional mechanic or car audio specialist.
The best aftermarket car stereo head units for a 2015 Jeep Wrangler
Shopping for a new aftermarket radio can feel overwhelming. There are seemingly endless options available, with a never ending list of features you may or may not care about. And you may not be familiar with the brands or know which ones are considered the best, or why.
You’ll of course want to shop around on your own and look for more recommendations before deciding on your new Jeep Wrangler radio. But we have a few suggestions here that we think you may want to look at. These head units are all highly rated and have great reviews.
4.717k Ratings 5M+Drivers Joined
7M+Cars Garaged
Boss BE7ACP-FT: Android Auto and Apple CarPlay at a great price
Once you start driving with all the functionality of Android Auto or Apple CarPlay, you almost feel like a pilgrim driving without them. The Boss BE7ACP-FT
provides you with all of that sweet modern mobile tech Jeep opted out of providing you in the first place. With a 7” capacitative touchscreen, Bluetooth and USB connectivity, and a mic for voice commands, this affordable option from Boss really does have it all.
Kenwood Excelon KMM-X704: Low on frills, but high on audible thrills
Some of you like that the Jeep Wrangler keeps things simple and doesn’t have big fancy screens. But you also want to embrace modern technology and listen to your own music while you’re exploring the wilderness. That’s where the Kenwood Excelon KMM-X704
shines. This smaller, “old school” head unit has Android Auto and Apple CarPlay functionality, but is managed through the phone and not using a console screen. It also works natively with Amazon Alexa and has HD radio and Sirius satellite connectivity. Or just plug in directly and play songs in MP3, WAV, FLAC, AAC, or WMA formats right off your phone
Alpine UTE-73BT: Kenwood-like features but at a softer price point
If you like the simplicity of the Kenwood Excelon, the Alpine UTE-73BT
is another option that avoids the flashy big screens and opts for an older-style design. Alpine’s offering doesn’t work with Alexa, but is compatible with Android and Apple devices, and has Bluetooth and USB connectivity too. And of all the options we’re listing here, you’ll have the easiest time linking up the UTE-73BT with your Wrangler’s steering wheel radio controls.
Pioneer MVH-S322BTL: The simplest and cheapest choice
The Pioneer MVH-S322BTL
is by far the cheapest option we’re listing. It’s also inarguably the simplest, with less functionality than the slightly pricier options we listed above. The Pioneer option is compatible with Android Auto and Apple CarPlay, but voice commands will only work on Siri—a bit frustrating for the half of American smartphone users with Android devices. Still, your phone can make up for the small gaps left by this unit, and with 96 kHz 24-bit sound resolution, you’ll be very pleased with how this unit sounds.
MORE: The 12 best Jeep accessories
How to save on Jeep Wrangler insurance costs
Unfortunately, replacing your OEM radio with an aftermarket one can lead to an increase in your Jeep Wrangler’s insurance costs. And that’s not great news when insurance costs for your 2015 Jeep Wrangler are already pretty high.
The Jeep Wrangler made our list of the 10 most expensive cars to insure
. And you should consider adding sound system coverage
to protect you in case someone breaks into your Jeep and steals your new radio. It can really get pricey if you don’t know how to find the cheapest rates. That’s where the Jerry
app can help. Jerry works with more than 50 of America’s top car insurance
providers to find you the cheapest rates available to you, without you needing to sacrifice the quality of your coverage. Simply download the app and answer a few questions, and Jerry will find you quotes in as little as 45 seconds. And after you choose the rate that’s best for you, Jerry simplifies the process of switching to your new provider, canceling your old insurance for you, and eliminating the need for phone calls and paperwork in the process.
Download Jerry today and see for yourself how millions of drivers are saving an average of more than $800 per year with this incredible super app!
“My policy covers two people and four cars: a truck, SUV, convertible, and muscle car. Jerry
helped me go from paying $308 a month to $125 a month with the same coverage. I’m loving the savings.” —Jocelyn A.
RECOMMENDEDThis app is great, but the customer service is even better! Not to mention convenient! My husband and I got the lowest rate (much lower than the rates I was finding online through my own searches), quickly, and pretty much all through text message! Thank you so much for a hassle free experience👍


 We value your privacy