Whether you’re ready to refinance or looking to buy a new Maserati, our car loan experts have written top content to make handling car loans a walk (err, drive) in the park.
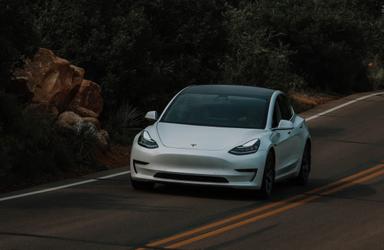
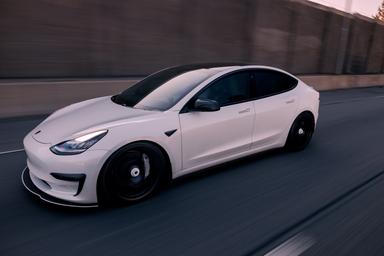
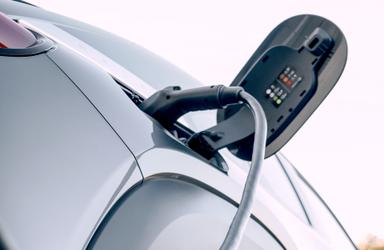
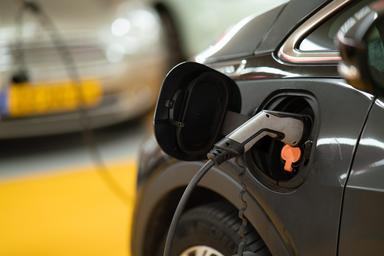
Projections say half of all new car sales will be electric by 2030—which is why we’ve curated the perfect content for EV owners and prospective buyers.
Insurance isn’t just for cars and homeowners. Get your possessions covered with renters insurance—our team has compiled everything you might want to know.